
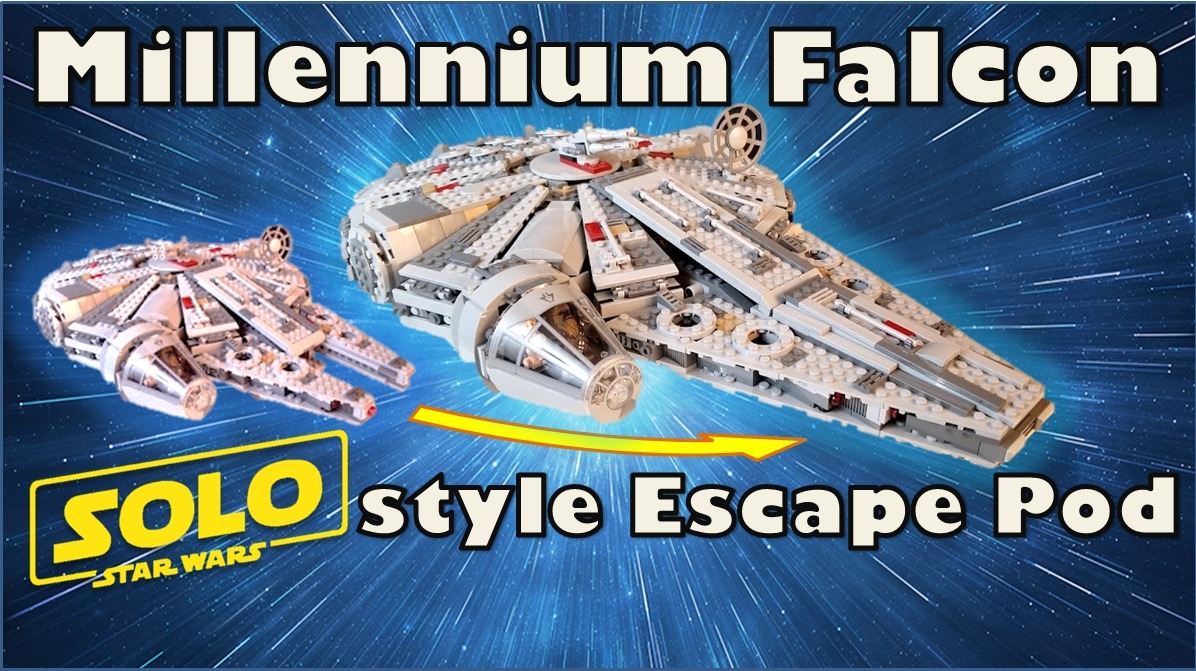
Lego has produced quite a few variations of the famous Star Wars Corellian YT-1300f light freighter, the Millennium Falcon. Some have ranged from $4 up to $800! Not too long ago, Lego set 75105 came out with the Force Awakens movie in 2015, and now for 2018, the Kessel Run version has come out. The Key differences are the Kessel Run set is shiny and new, white and blue, and has a strange shuttle/pod that gives its nose a long triangular sleek look. It feels like a “Phantom Menace” type of ship to me. The front shuttle/pod has never been part of the Millennium Falcon lore and was not portrayed even in the Prequel’s easter eggs. Most people, including me, probably don’t relate much to this front appendage as it just doesn’t resemble the Millennium Falcon they grew up with, but I’m starting to come around. Prior to seeing the movie, I’m expecting this to be a swanky custom add on for the freighter, much like how you can buy a tent to attach to the rear of end of some SUVs. So not so much a standard option but more so a deluxe and perhaps after market upgrade.

Either way, that Shuttle/Escape pod seemed interesting to me, but I have no interest in spending 170$ on another Millennium Falcon set. So instead, I set out to build my own pod for the Force Awakens set. I didn’t want to modify the original Lego model at all for this shuttle and succeeded in that goal. The Force Awaken’s Falcon has 2 rows of rails inside its notch which makes for a perfect attachment point for a shuttle.
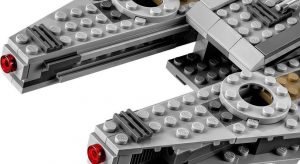
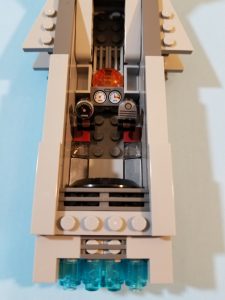
I did some off-color prototype work and then ordered most of the parts from bricklink for under 16$ with shipping. With my Escape Pod/Shuttle slid in, the set came out looking quite nice!

Animated Gifs:
Here you’ll find a Video tutorial of how I built my Escape Pod and Parts list.
Tutorial Video:
Parts List: Click to view the full list of whats needed to make the shuttle in the above video (Updated 7/11/18):

Interior: and if you want to Gussy up the interior, here is what I went with for the inside cabin:
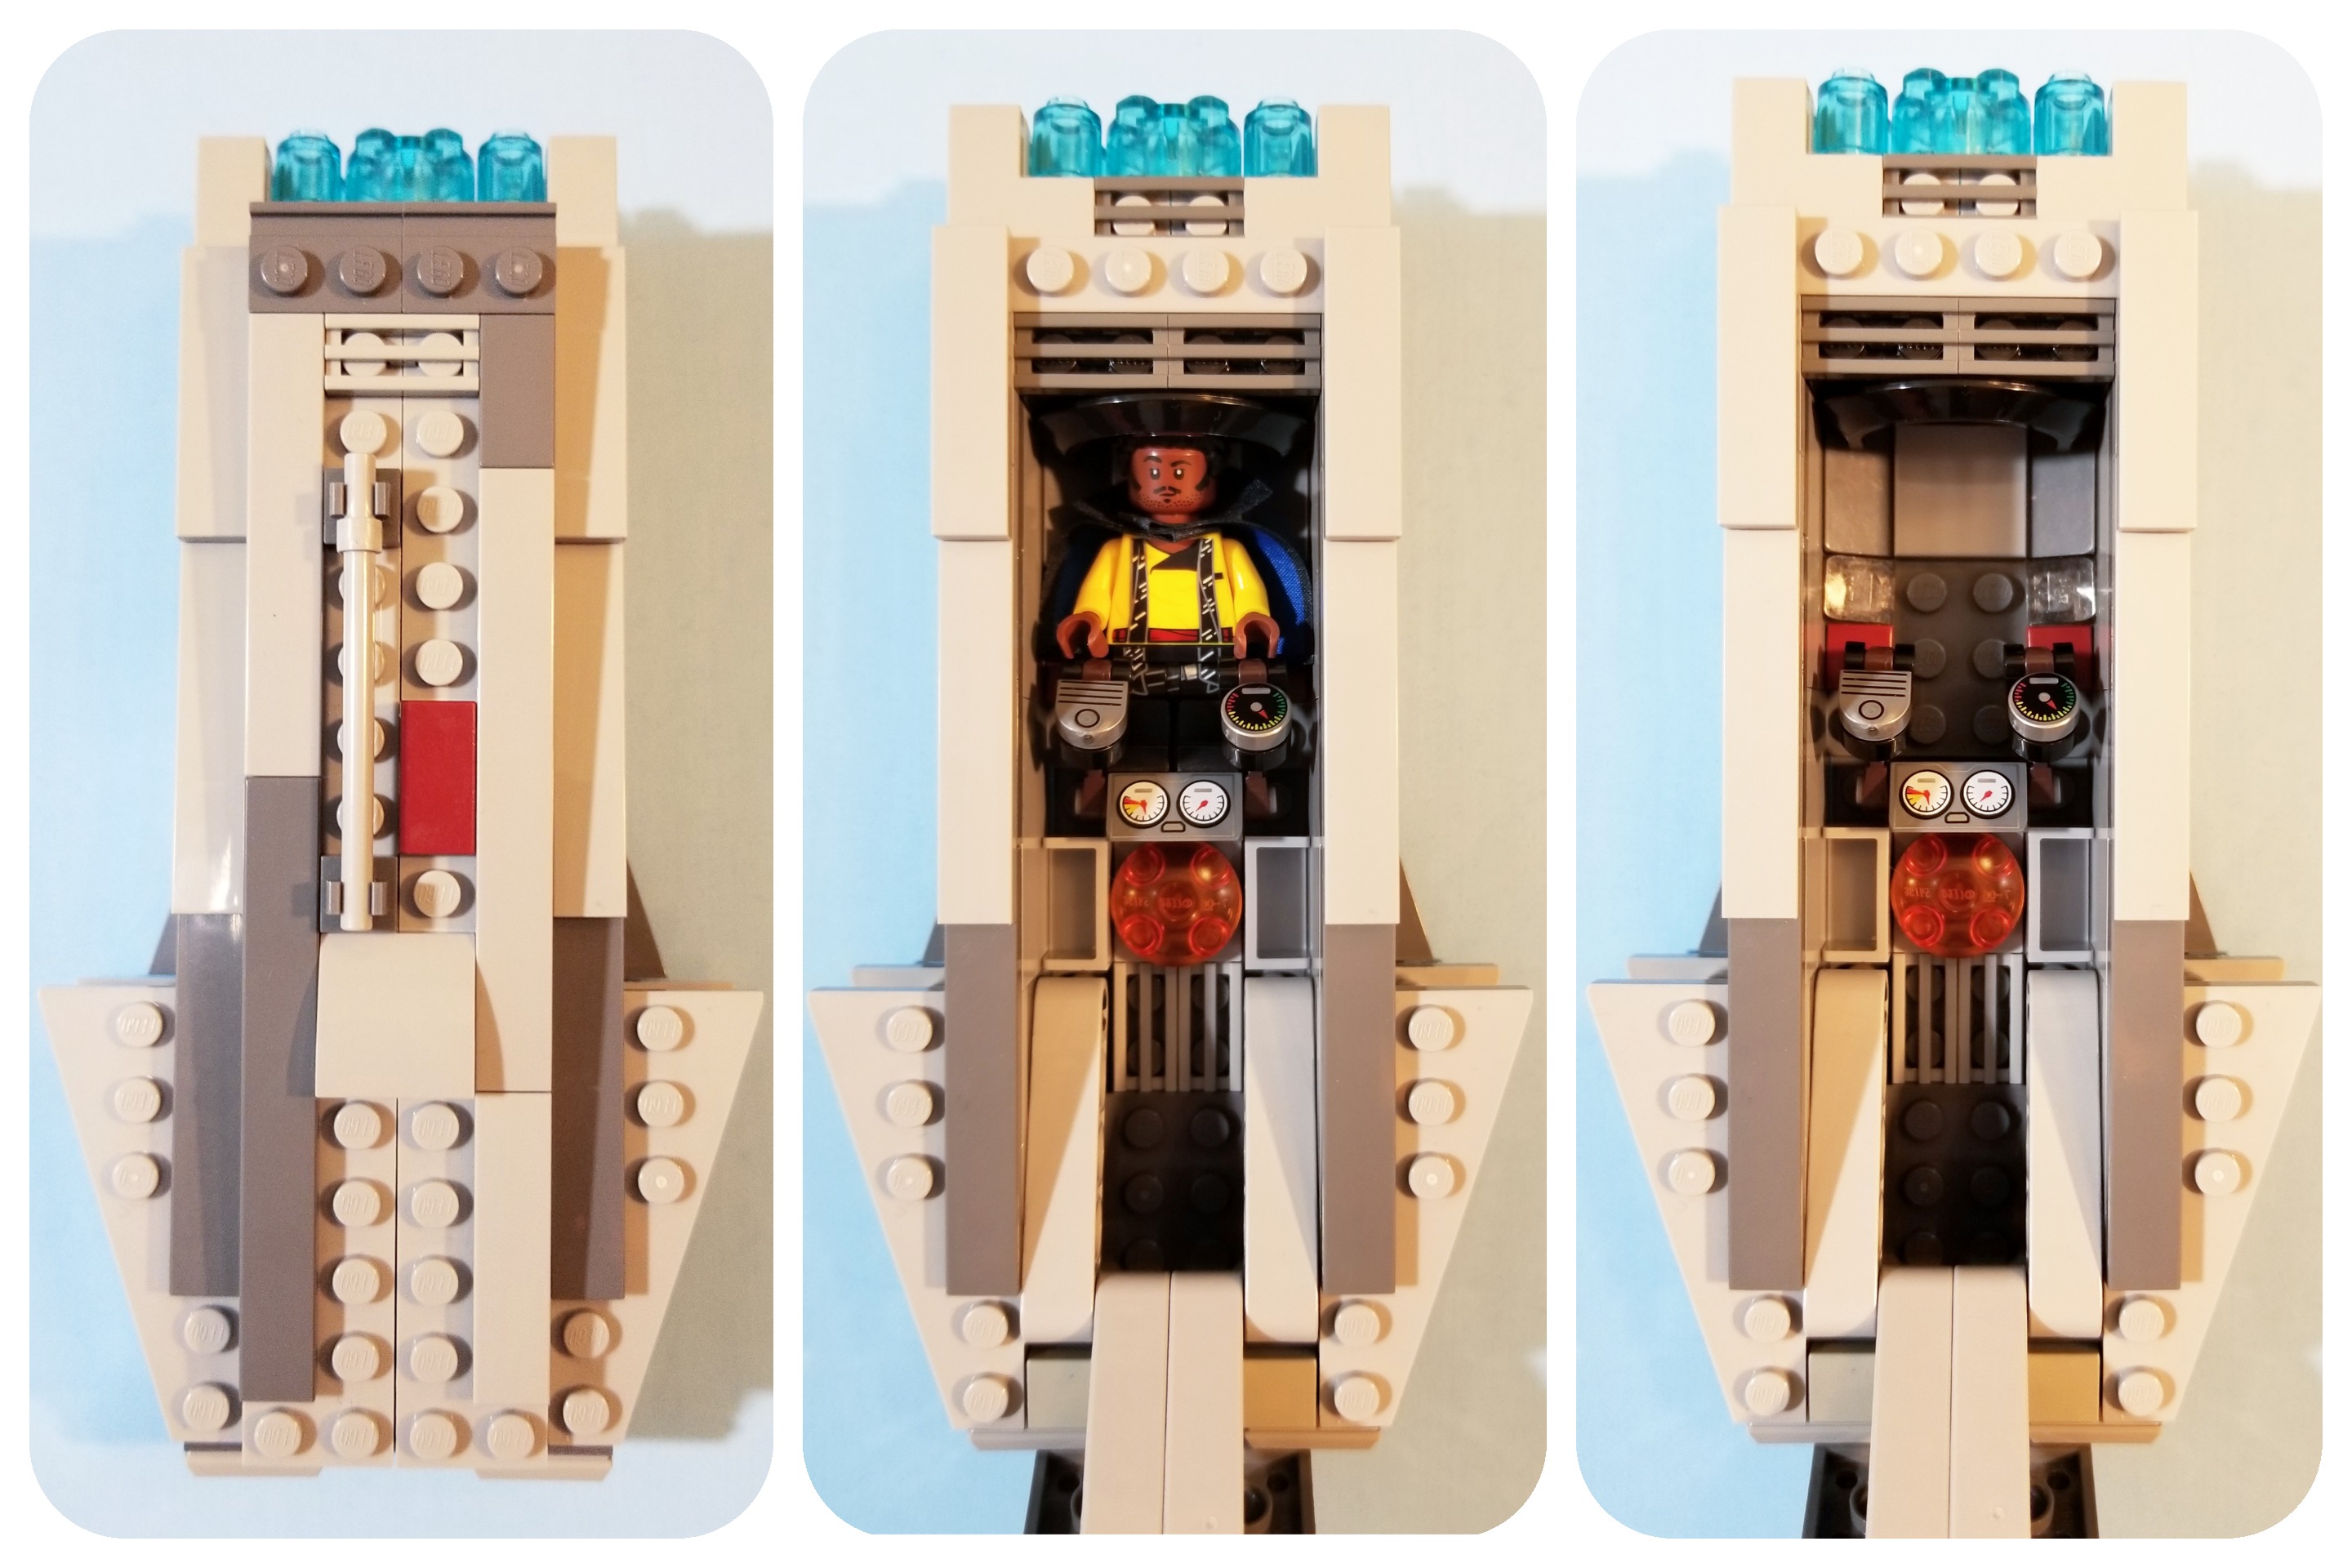
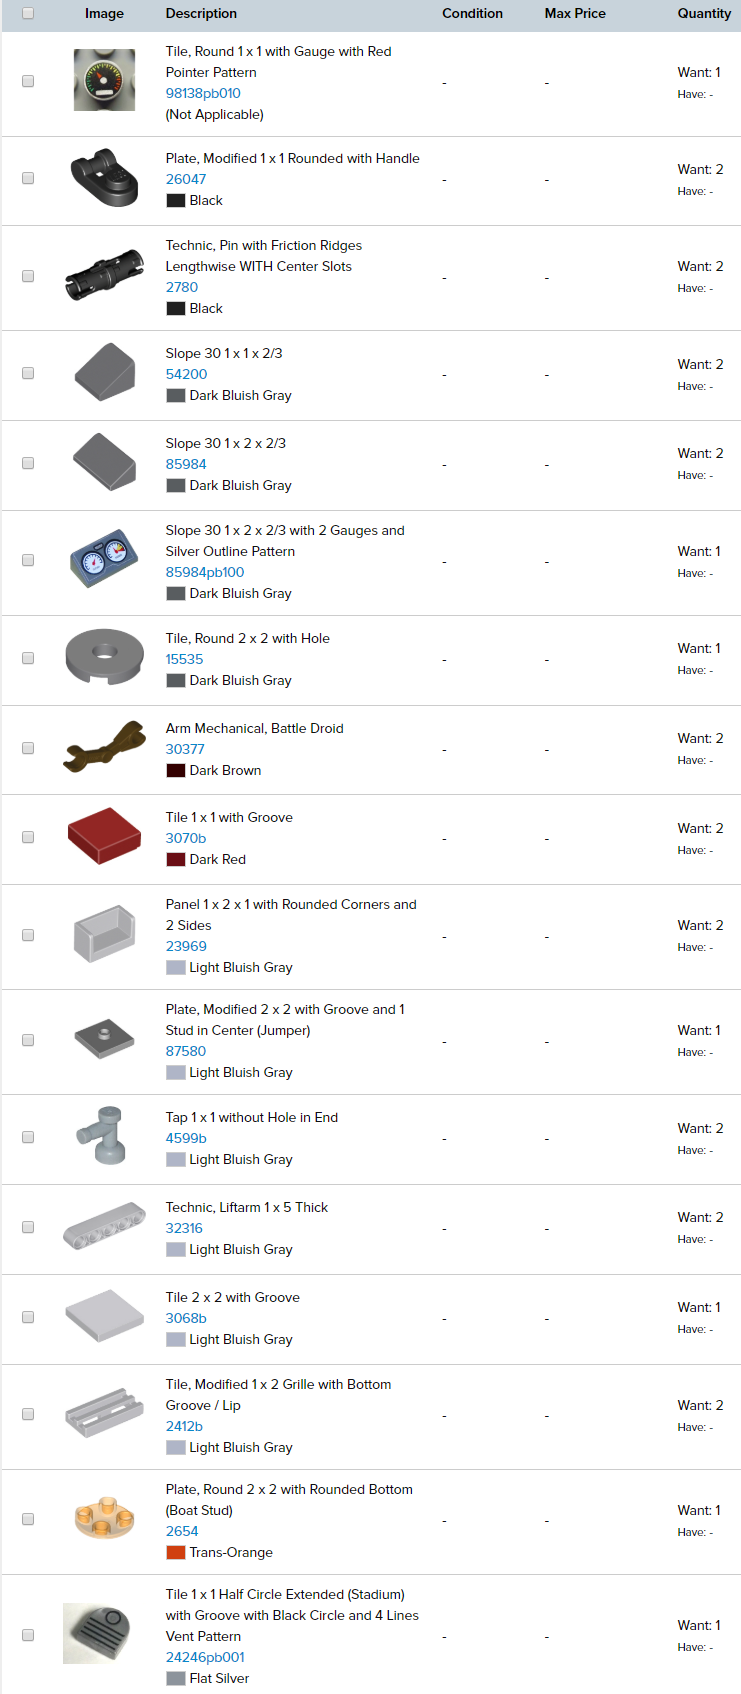
This parts list is only for adding in the interior and modifying the hinges of the roof. The controls are set up by placing two “taps” faucet looking pieces under neath the center two dial printed wedge. The faucet tips are pointing outward. I clipped the brown droid arms onto the faucets, and then the black modified plates with little bars to the robot arms. Then some printed 1×1 tiles for simulated controls. This way, you can swing the controls up and out of the way, insert your minifigure, lower the controls to the figures lap, and then lower the figures hands down to the controls.
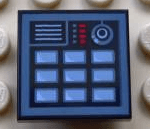
This little Part might make a nice screen to put up on the ceiling of the roof for the Minifig to “look at”. I didn’t have one unfortunately. Click image for a link to the part’s Bricklink listing.
This shuttle and interior is cramped quarters. You will hope to reach a suitable landing site quickly. I’ve tested it out and it will fig any normal figure with a small hair piece, and I was able to cram in Col. Akbar even. Big hair pieces/hats, or large modified heads will probably not work. Capes do seem to fit.
Wrap up: As I said before, the nice thing is this pod does not require modifying the 75105 Set at all, and therefore, you can ditch the pod at a moment’s notice and return to your beloved Millennium Falcon’s iconic shape. I hope this was at the very least, interesting to some, since it was a fun little side project.
Thanks for stopping by!
FYI, Your bricklink parts list does not include the right amount of bricks to include the model
Thanks for noticing. I’ll try to fix that asap.
I updated the List today, sorry it took so long. But the list should now be accurate for what is needed to build the main body of the Escape Pod. My recent interior update has not been parted out. I’ll get photos of that soon. Take care.
Is there an easier way to order the parts?
Unfortunately, there is no super simple way to order a large assortment of parts from a single vendor for a reasonable cost. On bricklink, you might have to order from 2 to 3 vendors depending on what parts you currently own. I have a bricklink wish list set up for this project, but bricklink’s wishlist sharing feature is not activated yet.
Ok thanks
I think the the escape pod is great l make my a couple days ago
Hi.
I made Rebrickable Lists for the needed Parts:
The Pod:
https://rebrickable.com/users/holtiwilan/lists/38634/
The Interior:
https://rebrickable.com/users/holtiwilan/lists/38635/
Very cool. I didn’t expect that someone would be so inclined but am happy to see that you were! Have you built one for yourself?
Not yet. Just ordered the Parts via Bricklink. Thats the reason i made the Rebrickable Lists.
That makes sense. I hope it goes well. If you remember, let me know how it turns out or if you make some personal improvements. Take care!
The color for item 98138pr0012 seems to be aqua, beleive it should be flat metallic
Had thought of this myself and then found this page along with the gallery on Bricklink (https://www.bricklink.com/v3/studio/design.page?idModel=53564) before beginning my own design.
I started with the escape craft from 75212 as a base (had to swap pieces to allow for two rails, instead of just one on 75212), “aged” the white pieces and light grey pieces, and decorated to match 75105. Made some subsequent tweaks for it reduce gaps left at the back of the escape craft when docked. I decided to keep the lower nose wings to nestle underneath the nose tips of the Falcon like in 75212 while keeping precise alignment of the upper nose wings.
BrickLink does allow a downloaded XML file that can be shared and uploaded back into BrickLink for buying. I used auto-select buy in BrickLink to automatically optimize among all the sellers the lowest price buy (didn’t know that before, and it worked like a charm). Oh, I also did some part subs to reduce the price dramatically to about $17 shipped.
My last tweaks right now are to get the additional pieces to fill in the gaps when I stretched my design and also for the docking hooks I figure to have the option to add at low cost on the 75105 so that you get a secure click at docking.
Wasn’t sure where the best place would be to share. I’m still a beginner builder, so I haven’t used BrlckLink Studio yet to be able to post to the Gallery there ideally. I guess I could link to my FB page?
That sounds awesome, and like you had a great little project there. I would love to see photos. It would be neat actually to post your version on this page to show other folks renditions. If you want me to post your creation here, thefarquarsite@gmail.com otherwise, share a link to FB, or Flickr, or somewhere. Take care. Glad you stopped by.
I built it! It’s awesome! The only change I made is I found an actual screen to use instead of just the blue piece. I used this screen: https://www.bricklink.com/v2/catalog/catalogitem.page?P=11203pb033&C=85#T=C&C=85
I am trying to think of a good way to re-enforce the connection of the technic pieces to the roof. I keep having it fall off.
Love the build though. Saved me from my impulse to go buy a Kessel Run Falcon. Thanks so much for sharing!
Thanks so much for the comment. I went and added that screen piece to my bricklink wishlist. That would be perfect. Exactly, I build this little mod to prevent myself from considering buying the Solo $170 faclon. Glad it worked out for you. Take care.
Your escape pod looks awesome! Does this mod also work with the new 75257 falcon model? I’d love to add your pod to my ship but I read that the mandible shape was updated a little since the 75105. Thanks!
Thanks, I’m really glad you like it…and glad you found my other version for the 75257 falcon.
Just saw your video and zip file for the shuttle off the 75257 model- will give it a try and let you know how it goes- thank you for sharing!
Awesome…I’m excited that you are going to build one. Let me know if you think of any cool mods for your version. Have fun!
Built the escape pod- very satisfying how it fits into the falcon model. Made a few minor mods- added interlocking 1×2 pieces on the bottom of the pod and pod and main model to give that nice click when the pod is snapped in and out. Replaced two of the grey side panels with trans blue ones. Added a round smooth 2×2 hatch tile at the back (between the engines) to represent the entry point from the falcon into the pod. Used trans green and red 1×1 pieces at the front to give it the standard port and starboard colors. Looks great- thanks!
That’s awesome! I’m glad you were able to build one and modify it to your liking. That’s the fun of Lego, getting to modify and customize! Thanks for letting me know too. Such fun!
Post a link to a photo of yours if you ever get a chance.